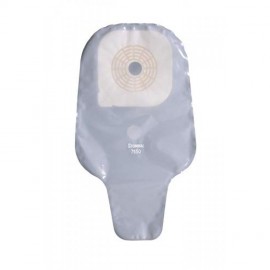
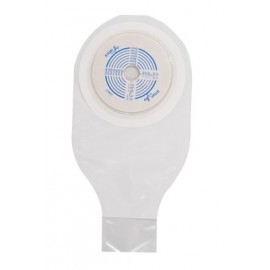
Learn how to prepare, apply and change your stoma bags with our step-by-step Stoma Bag Change Checklist
Ensure you
have everything in your hand before changing your bag.
- New SIngle Ostomy bag (How to change a one-piece colostomy bag) or New Wafer-Pouch Ostomy bag (How to change a two-piece colostomy bag)
- Curved Scissors
- Dry wipes, Gauze, or Clean cloth
- Luke Warm
water
- Disposal bag
to dispose of wastage
- Adhesive Remover Spray or Remover Wipes
- Wash your Hand before changing the pouch or wear Gloves if possible.
Step by Step to change your stoma bag;
- Draw the size and shape of your stoma onto the adhesive side of the bag, then cut it out with the help of curved scissors.
- Remove the Base Plate with the help of Remover Spray (if need) fold the bag and adhesive, dispose of it.
- Use wipes to clean the surrounding area and stoma. Clean your stoma and skin use light warm water, can use mild soaps.
- Examine the skin around the stoma and make it dry.
- Apply Barrier creams and powder if your doctor or stoma nurse prescribed. If cream or powder applied let the skin dry again.
- Remove the back film from the adhesive side of the wafer or single bag, keep folding the top half of the adhesive back, then position it around the stoma from bottom to top direction.
- Close the pouch with adhesive in case of two-piece system.
- Wash your hand
- Its recommended relaxing for 5 minutes will help to stick adhesive properly
- Always consult your Doctor/Nurse if abnormalities noticed related to stoma or skin. New ostomates always do under supervision.


-270x270.jpg)


